Click "Media Libraries" from the Account Menu > Admin Tool pane. This page allows Institutional Admins to browse and search through all of their institution's Media Libraries, and to sort by library attributes (Fig. 1).

Fig. 1 - Warpwire video platform's admin tool listing all media libraries
You can use the search box at the top of the page to quickly retrieve Media Libraries that match your search (Fig. 2).

Fig. 2 - Admin tool listing search results of Warpwire media libraries with 'cat' in the name
The Admin Tool search allows admins to see relevant details for each search result. You can quickly see the Media Library title, number of assets in the library, sharing settings, whether Contribution and Visibility are turned on, and the date the Media Library was created.
If you click on the title of a Media Library, the Media Library will open, so that you can see its contents (Fig. 3).

Fig. 3 - Page within the Warpwire media library showing all assets in the 'Cats 101' library
Media Library Share Settings
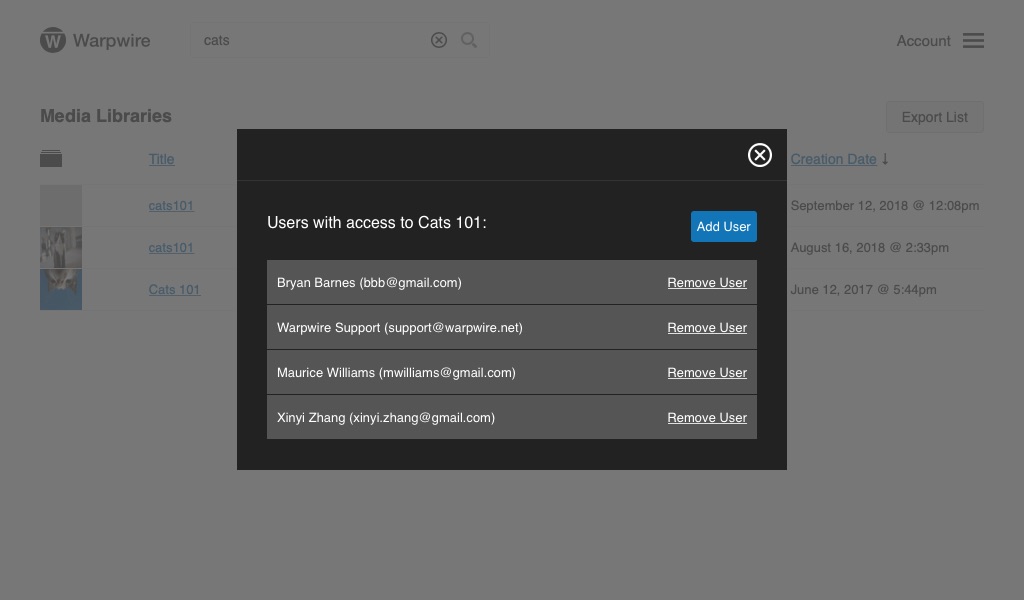
You can also click on the share setting for each Media Library, which will open a window displaying detailed information about which Users and Groups have access to the Media Library (Fig. 4).

Fig. 4 - Admin tool panel showing list of users with access to 'Cats 101' library within the Warpwire media library
If you click on the name of a Group with access to the Media Library, you'll be able to see which Users are in that Group (Fig. 5).

Fig. 5 - Panel with 'add user' button to add users to groups within the Warpwire media library
You can also add users to a group from this window (Fig. 6).

Fig. 6 - Panel showing user being added to group within Warpwire
Export Media Library Data
If you click the "Export List" link in the upper-right of the screen, a CSV will download (Fig. 7).

Fig. 7 - Export button in upper-right of admin tool within the Warpwire media platform
This CSV will list all of the Media Libraries, along with their description, creation date, URL, the number of assets in the library, whether users can upload to the library, and the sharing settings for the library.

Fig. 8 - Spreadsheet downloaded from the Warpwire video platform showing information about all Media Libraries
See also: Admin Tool, Media Assets in the Admin Tool and Users in the Admin Tool.
Was this article helpful?
That’s Great!
Thank you for your feedback
Sorry! We couldn't be helpful
Thank you for your feedback
Feedback sent
We appreciate your effort and will try to fix the article