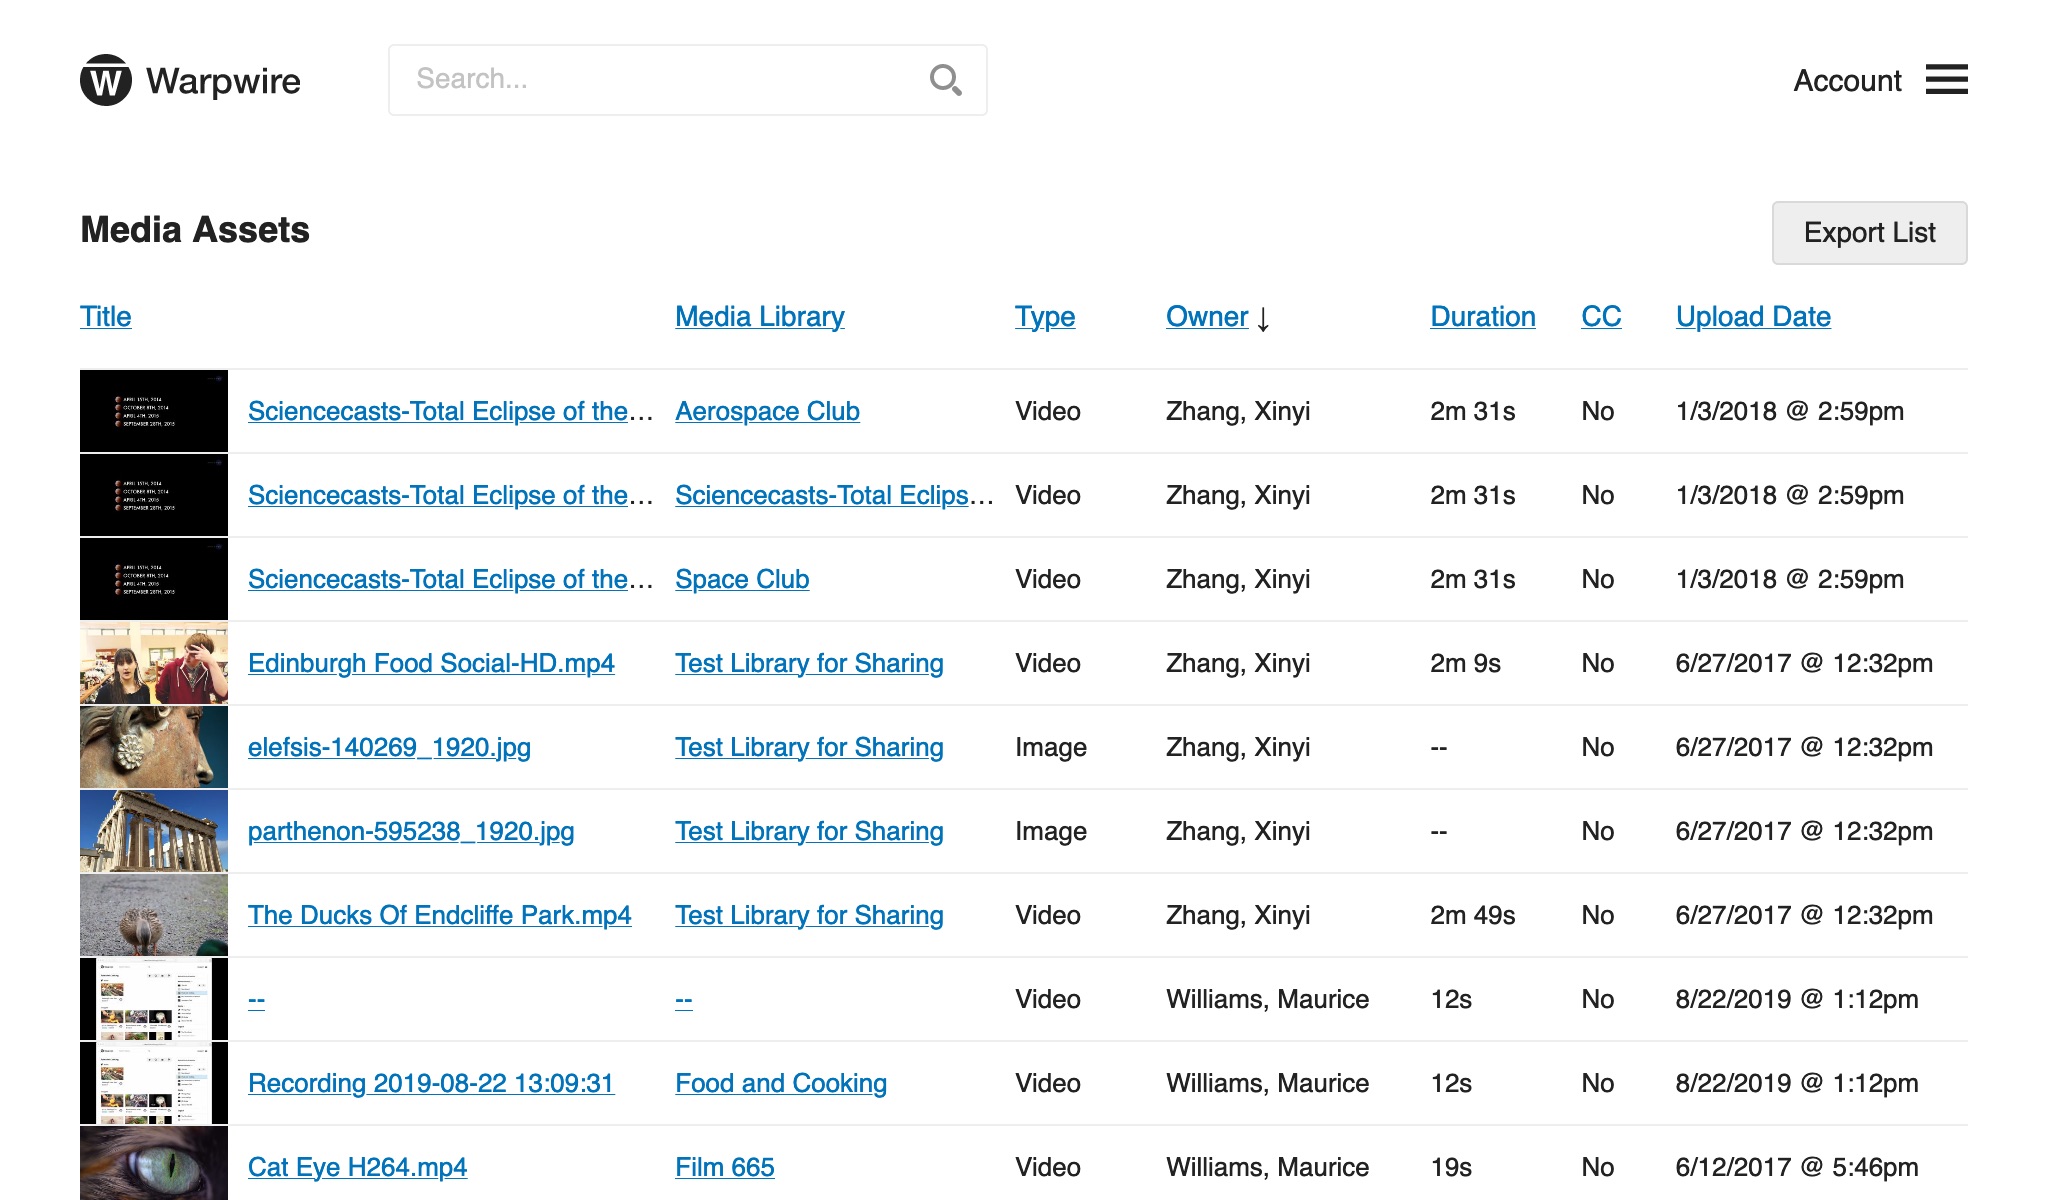
Click "Media Assets" from the Account Menu > Admin Tool pane. This page allows Institutional Admins to search through their institution's entire collection of media for particular assets, and to sort by desired attribute (Fig. 1).

Fig. 1 - Admin tool showing all assets
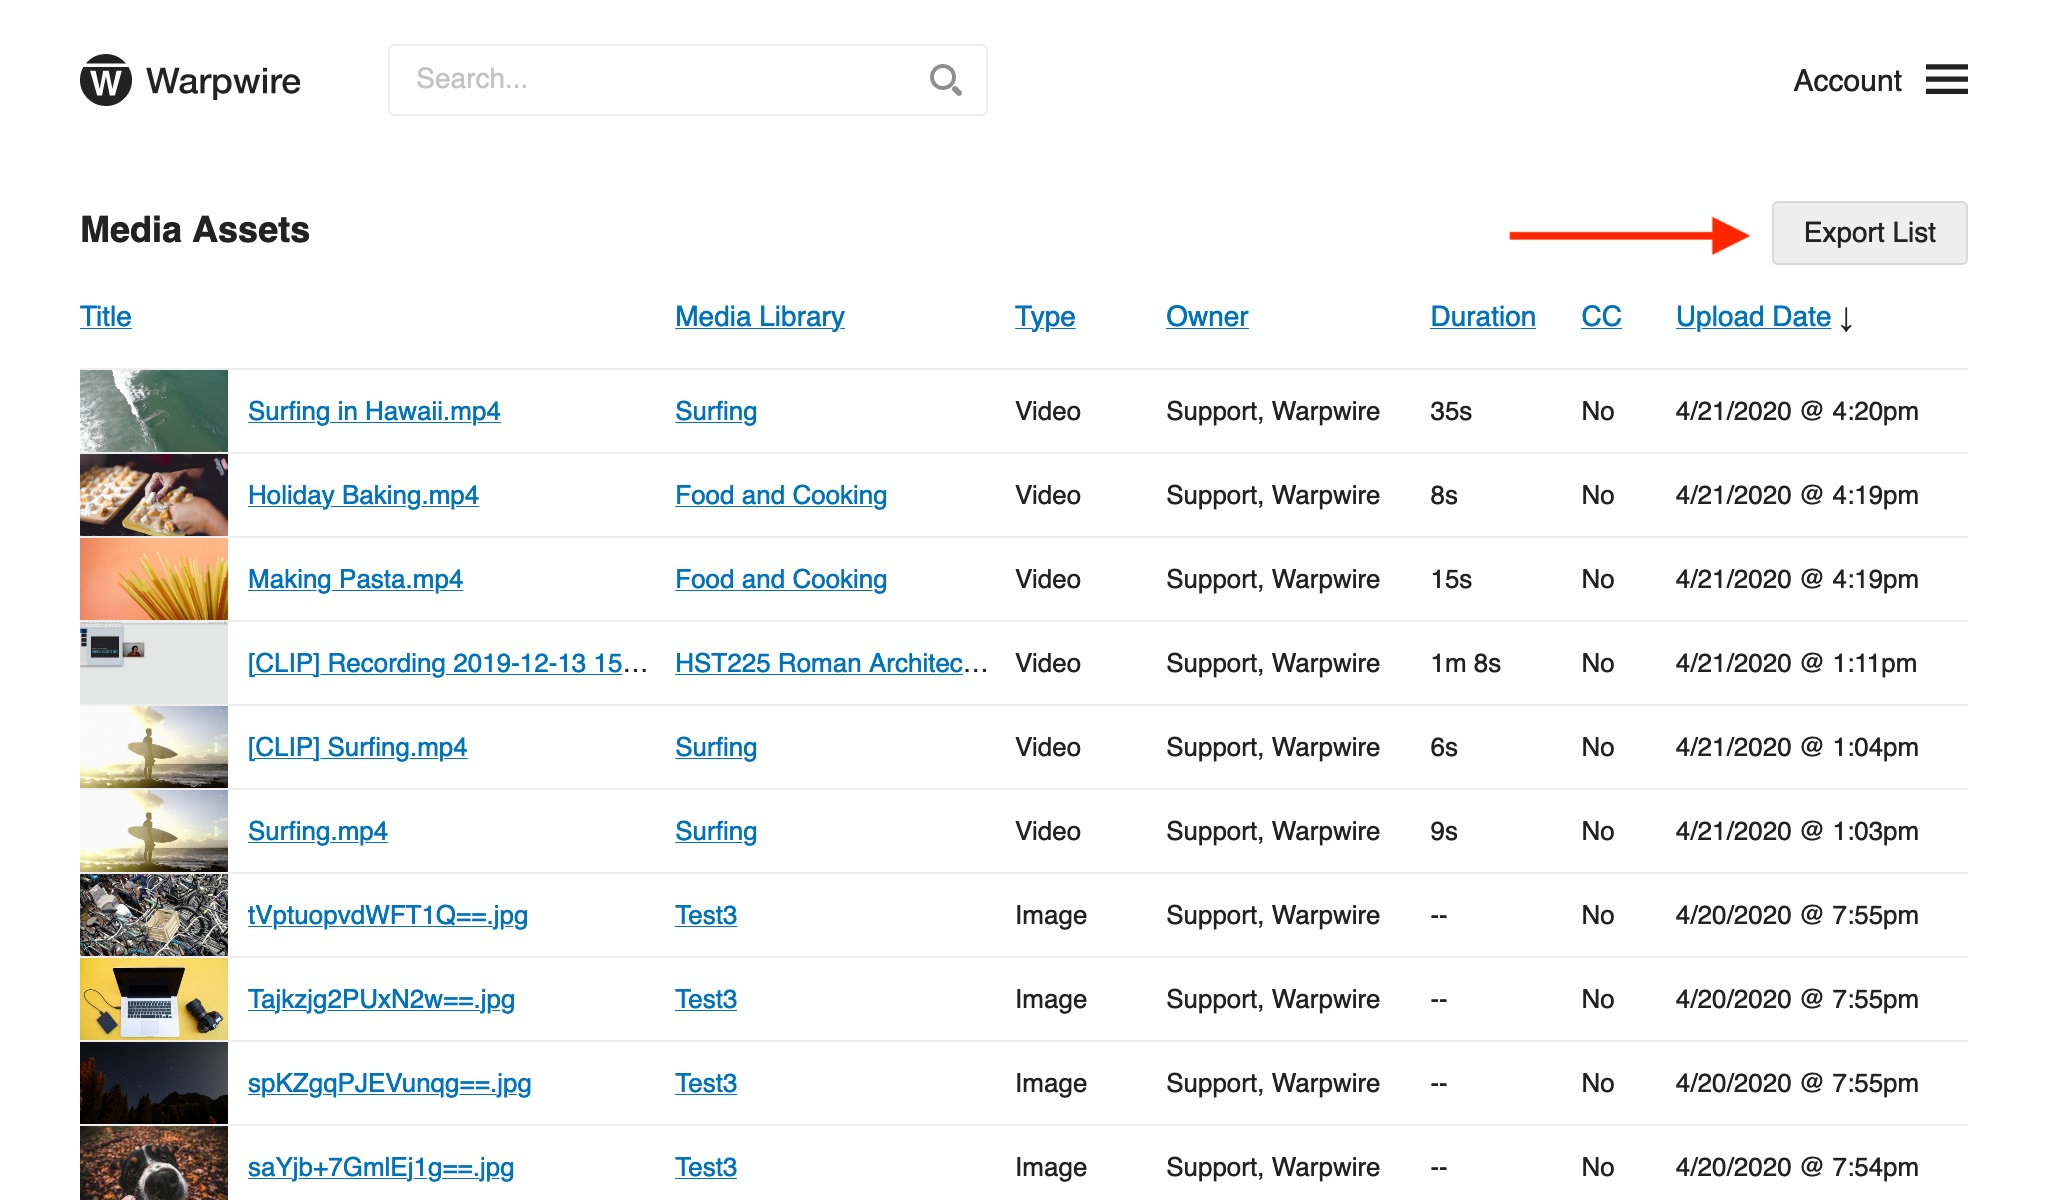
Here is the same list, sorted by Owner name (Fig. 2):

Fig. 2 - Admin tool showing assets sorted by owner
You can use the search box at the top of the page to quickly retrieve assets that match your search (Fig. 3).

Fig. 3 - Admin Tool showing search results for assets with 'duck' in their title
The Admin Tool search allows admins to easily see relevant details for each search result and to sort by whichever detail they'd like. You can view thumbnails for each result, along with Title, which Media Library it belongs to, the media type, asset owner, asset duration, whether the asset has closed captions attached, and the upload date.
Navigate to an Asset
If you click on the Asset Title, a page will open taking you to a standalone view of the asset (Fig. 4).

Fig. 4 - Stand-alone page for video of a duck
If you click the name of the Media Library that contains the asset, a page will open for viewing the entire Media Library (Fig. 5).

Fig. 5 - stand-alone page for video of a duck
Export Asset Data
If you click the "Export List" link in the upper-right of the screen, a CSV will download.

Fig. 6 - Export button in upper-right of admin tool page
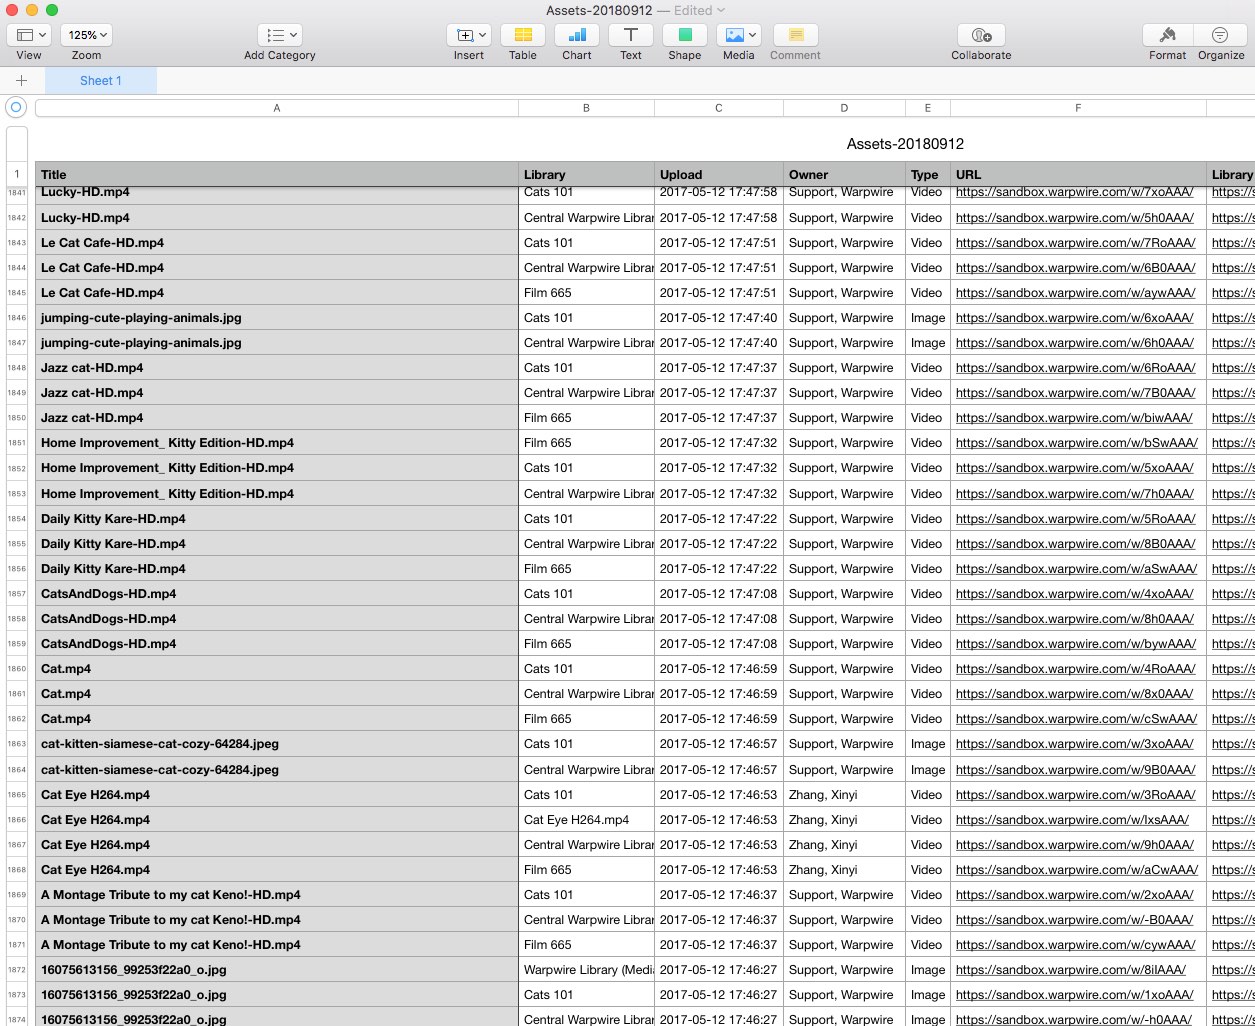
This CSV will list all of the assets, along with the Media Library they are in, the date they were uploaded, who uploaded them, the type of file they are, the permanent URL of the asset, its containing Media Library, the Media Library Description, whether the asset has closed captions, the length of the asset (if applicable), the size in bytes of all of the assets versions, when it was last viewed, and it's ID.
These various data fields are helpful in quickly assessing different aspects of the entire collection of assets contained in Warpwire (Fig. 7).

Fig. 7 - Spreadsheet of information about all assets
See also: Admin Tool and Media Libraries in the Admin Tool.
Was this article helpful?
That’s Great!
Thank you for your feedback
Sorry! We couldn't be helpful
Thank you for your feedback
Feedback sent
We appreciate your effort and will try to fix the article