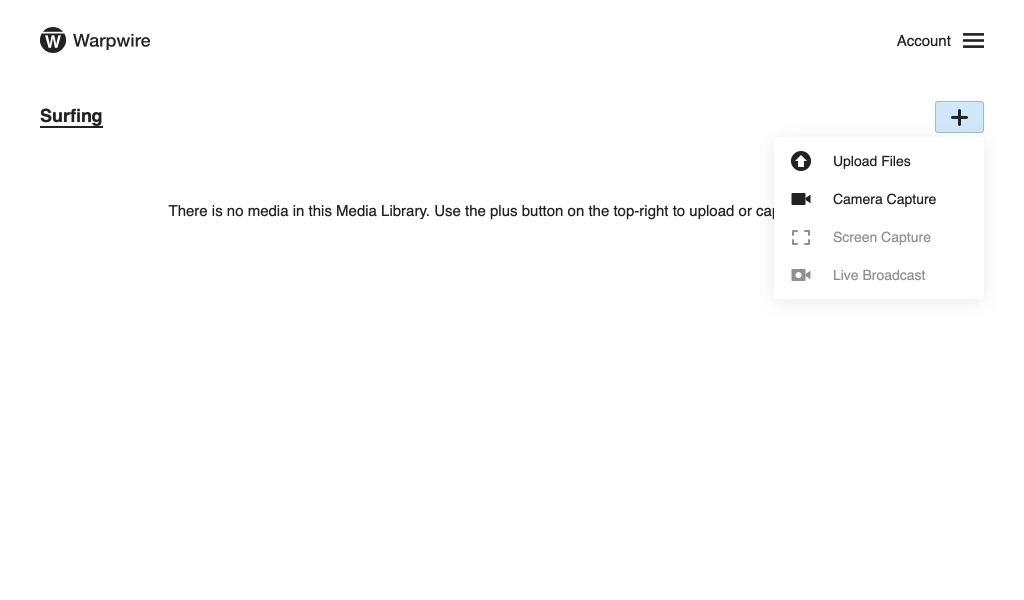
First, we'll create a Media Library for the content.
Upload, clip, and share recordings to help your team.
Warpwire's clipping feature is a great way to share specific parts of a longer video. Clipping creates derivative segments from a larger original file.
In this workflow, let's imagine a sports team who has their games and practices recorded. The coaching staff could create clips of the full-length game or practice to share particular plays and decisions to review with the team, or with specific players.
We'd begin this process by either capturing or uploading the original recording into a Warpwire Media Library.
We'll start at the beginning and go through the entire process.


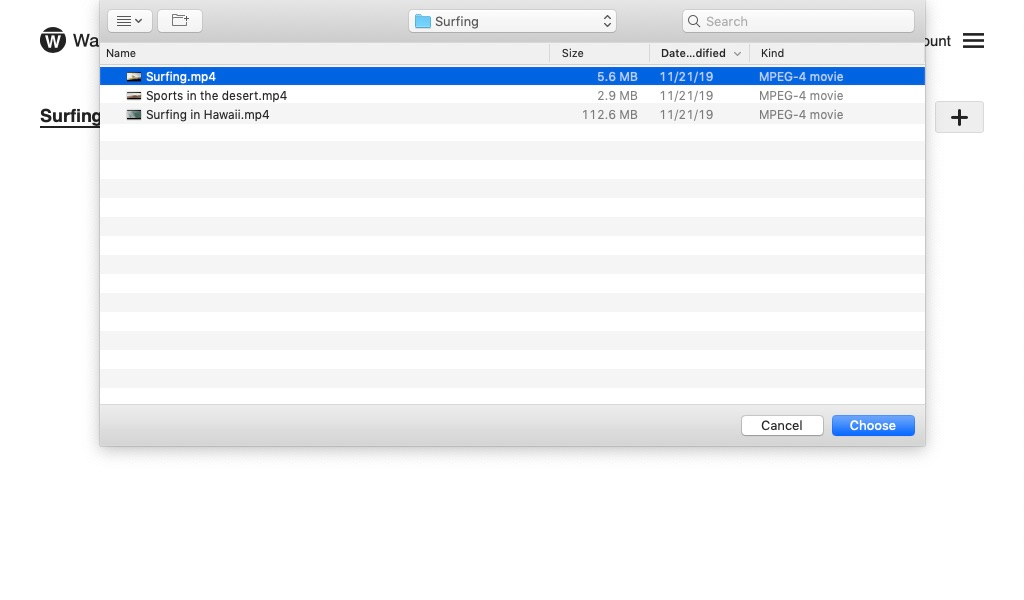
Then, we'll upload the video to the Media Library we just created, giving it a Title during upload.

Select the file(s) you wish to upload.

Provide a title and description for the uploaded file.

Next, we'll create a clip of a particular play. We'll navigate to the Media Settings page by clicking the three dot  icon Three dots icon to the right of the asset title and select "Settings" from the dropdown menu.

From this page, click the "Create Clip."

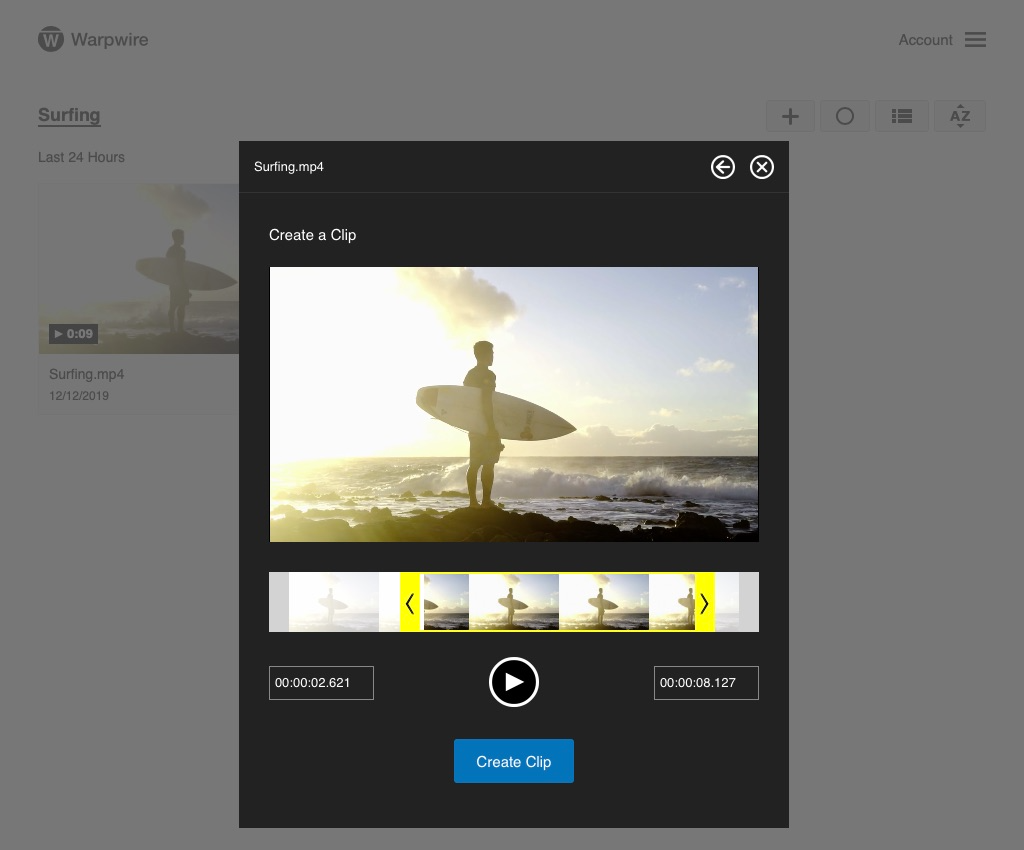
The clip creation interface allows you to type in specific time-codes (to a fraction of a second) to create a clip.
Alternately, click and drag the arrows on either end of the video to highlight the segment you want to turn into your clip.
Click the round play button to preview your clip before saving.
When you're ready, click the "Create Clip" button.
When you create a new clip, it will not affect the original video. The new clip will be a separate video asset in the Media Library.

The clip you just created will have the same title as the original asset, but with [CLIP] prepended.
The clip will have fresh analytics and metadata. You'll be able to tag it, add captions, edit its title and description, and change the thumbnail: it is an entirely separate asset from the parent video.

Finally, we want to share this video with the people who need to see it. We'll do that by clicking the three dot icon Three dots icon to the right of the asset title and selecting "Share" from the dropdown menu.

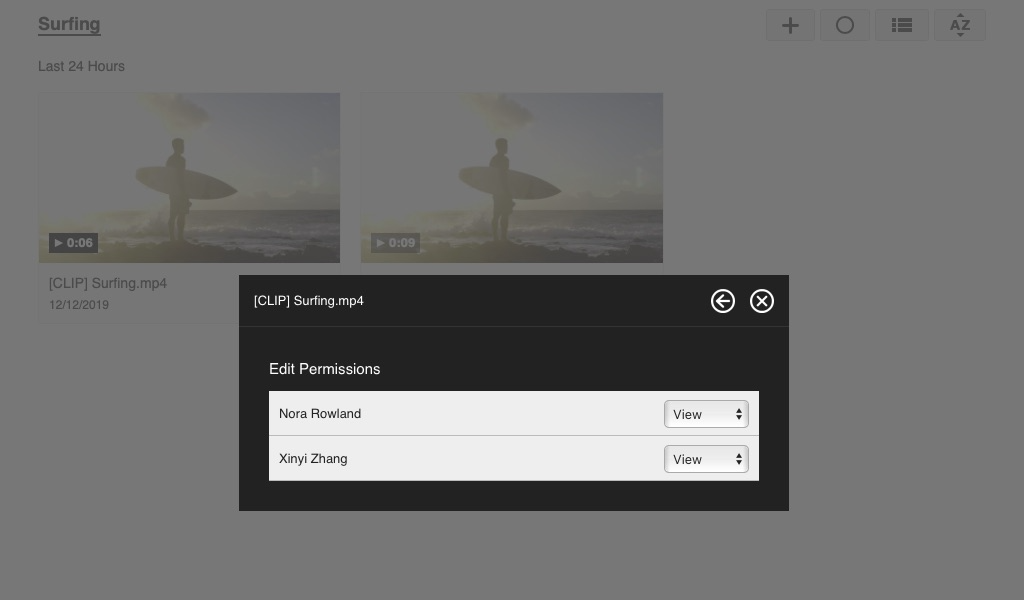
This video needs to be shared with particular users (a couple of players) rather than the whole school. To do this we'll select "Share with additional Users and Groups (Protected)" from the dropdown menu on the share page.

Using the search box, find the user(s) or group(s) we want to share the video with. In this case we want to share the video with one or two specific players. Click on the name of the user or users you want to share the video with.

Alternately, a video can be shared with an entire group at once. If the team is a group, search for the team name to share with everyone at once.
Congratulations! You've created a clip from your sports practice and shared it with the players you wanted to coach.
Remember, the "Create Clip" functionality is available for any asset your own. Multiple clips can be created from the same source video or audio file, and new clips can be created from clipped media.
Explore another Warpwire Workflow
Was this article helpful?
That’s Great!
Thank you for your feedback
Sorry! We couldn't be helpful
Thank you for your feedback
Feedback sent
We appreciate your effort and will try to fix the article