Upload and share content, outside of courses or the LMS
While Warpwire provides deep and intuitive integrations with the LMS, sometimes you have stand-alone video needs. Let's imagine that we're the chair of a student group at our institution. Just because we aren't teaching a class doesn't mean we don't use video.
To create a repository of content for the club, I'd start by creating an ad hoc Media Library in Warpwire.
The easiest way to do this is to login to Warpwire directly, instead of from your LMS. The link for this view will vary based on your institution's Warpwire setup.
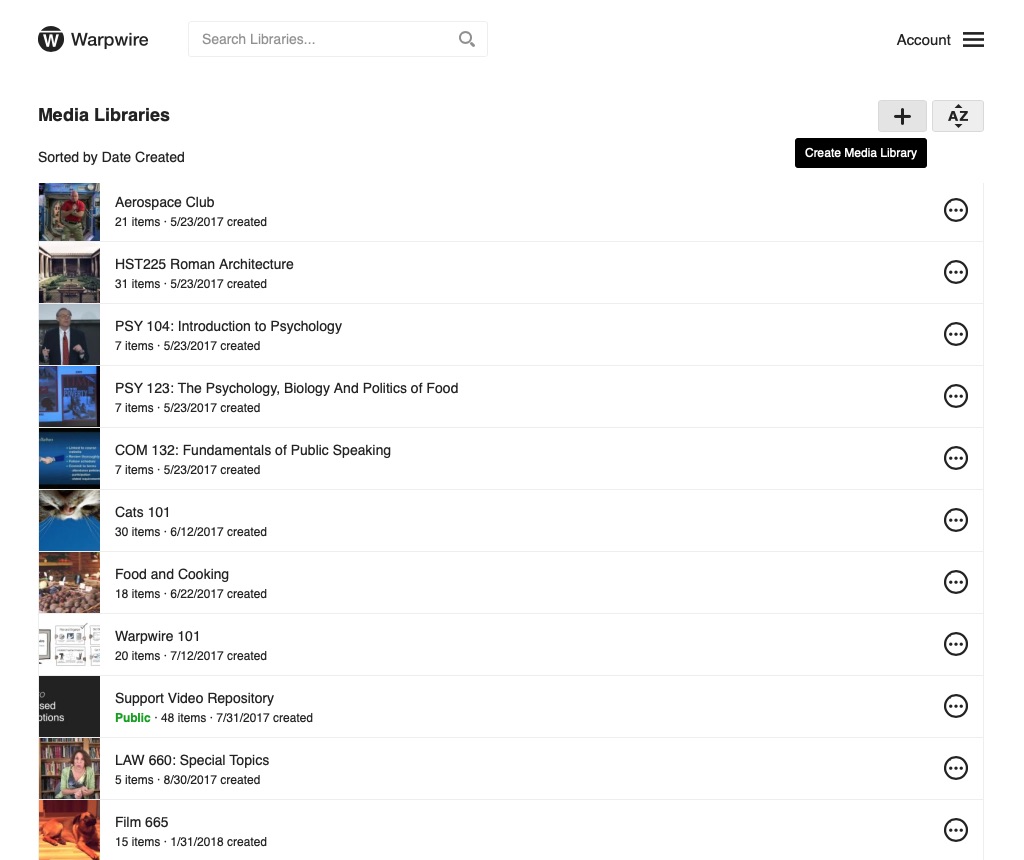
From this page, click the plus icon to create a new Media Library. (Fig. 1)

Fig. 1 - View of many Warpwire Media Libraries
Or, if you're in your LMS, click the name of the Media Library in the upper-left of the frame and click "Create New" from the dropdown menu. (Fig. 2)

Fig. 2 - Warpwire Media Library options dropdown menu within Canvas course
Give your new library a name, and click "Create." (Fig. 3)

Fig. 3 - User input field for creation of new Warpwire Media Library
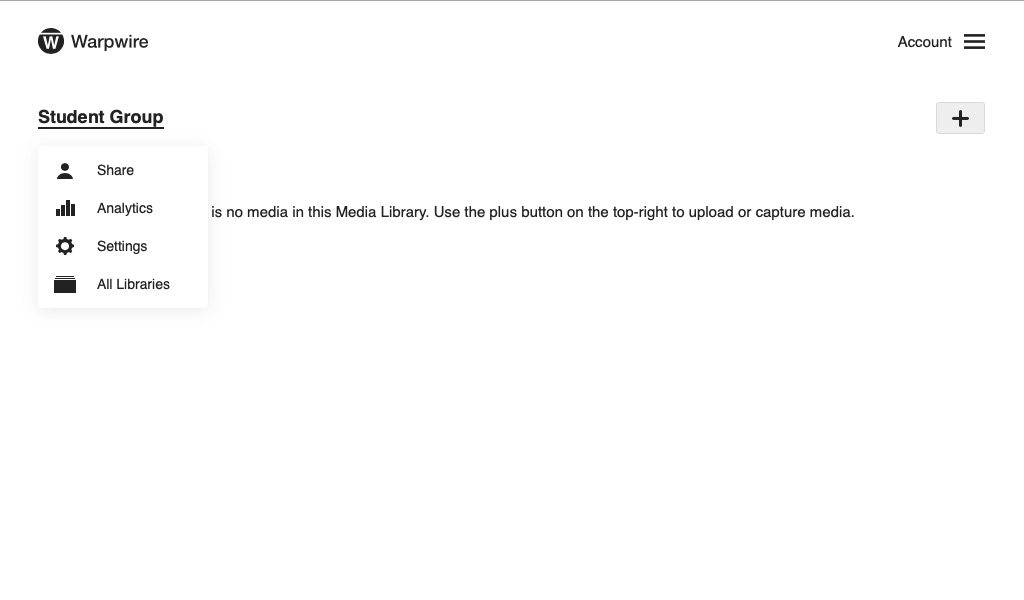
You can easily change the settings for your new library by clicking the three dots next to its name, and selecting "Settings" or "Share." (Fig. 4)

Fig. 4 - Caption can go here
Here you can decide if everyone you share the library with should be able to upload content to it, or just you and any other admins.
From the "Share" page, you can decide who has access to the library you've just created. You can make it private, public, open to your whole institution, or share with particular users and groups. This last option makes the most sense for a student group.
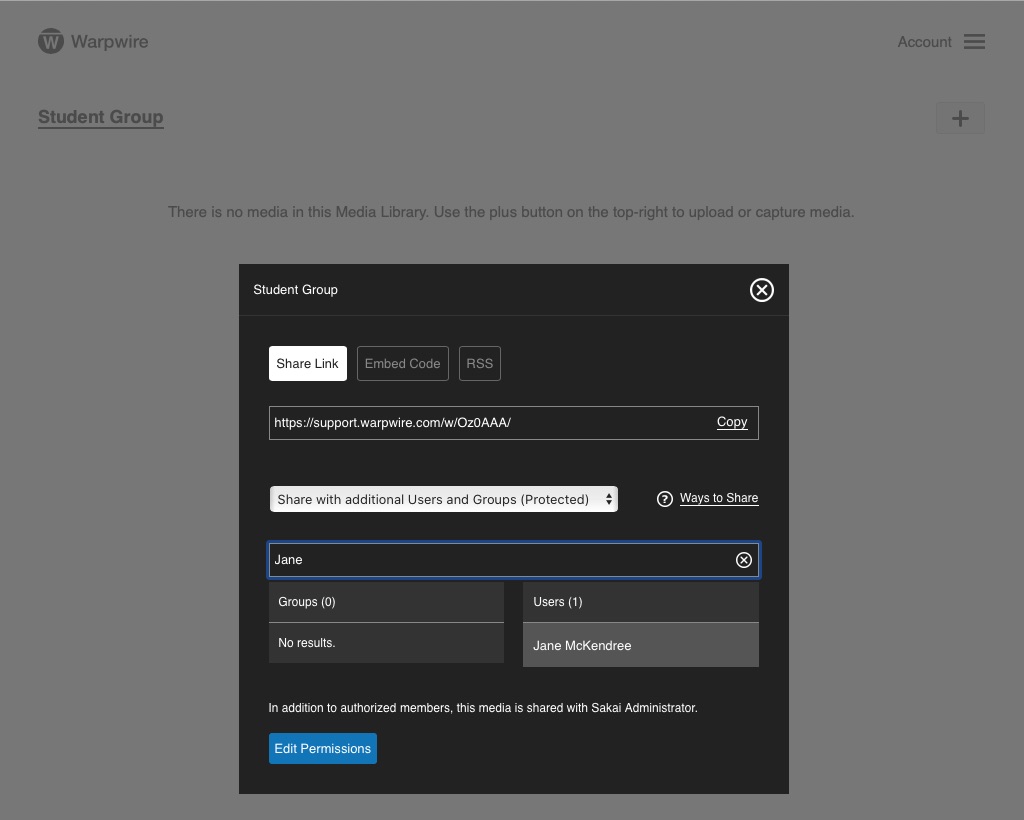
When you select "Share with additional Users and Groups", you'll see a search box where you can find the users and groups you want to share with.
For our student group, we can search for the members individually. (Fig. 5)

Fig. 5 - User and group search on sharing options pane
Once we've added all the students in our group, we can click "Edit Permissions" at the bottom of the page to set permissions for particular individuals. (Fig. 6)

Fig. 6 - List of users with access to the Warpwire Media Library
I can make someone an admin of the library, grant them viewing permission, give them specific permission to download files, or remove their access.
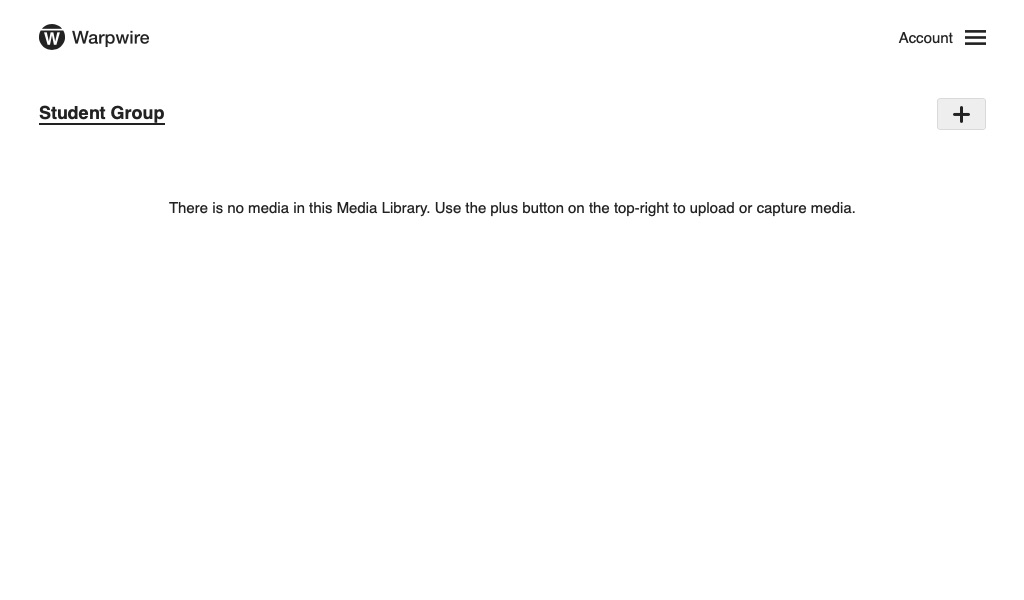
Now that we've given access to everyone who needs it, we can start adding content to the Media Library. (Fig. 7)

Fig. 7 - Empty Warpwire Media Library
We can upload files directly, record from a camera, or record our screen. (Fig. 8)

Fig. 8 - Add Content dropdown menu
Now, anyone with access to the library will be able to see these videos, whether they login directly, we embed it on our student group's blog, or we send them a link. (Fig. 9)

Fig. 9 - Warpwire Library full of video content
This Media Library can act as a repository for all the multimedia content the student group needs.
Was this article helpful?
That’s Great!
Thank you for your feedback
Sorry! We couldn't be helpful
Thank you for your feedback
Feedback sent
We appreciate your effort and will try to fix the article