Instructors can manage their course content from a Warpwire Media Library directly within Moodle. From the Media Library, you can organize and curate course media, like customizing asset settings and adding tags to group related content. You can also upload or capture new media, view per-user analytics, and even change share settings so you can share media with your desired audience.
To easily access your course Media Library, we suggest adding the Warpwire activity to your course. To do so, follow the steps below.
How to Create a Media Library Tool in Your Moodle Course
Begin by navigating to the Moodle course you want to add Warpwire to.
Next, click the "Turn Editing On" button in the upper-right of the screen, which will allow you to add the Warpwire tool wherever you'd like.
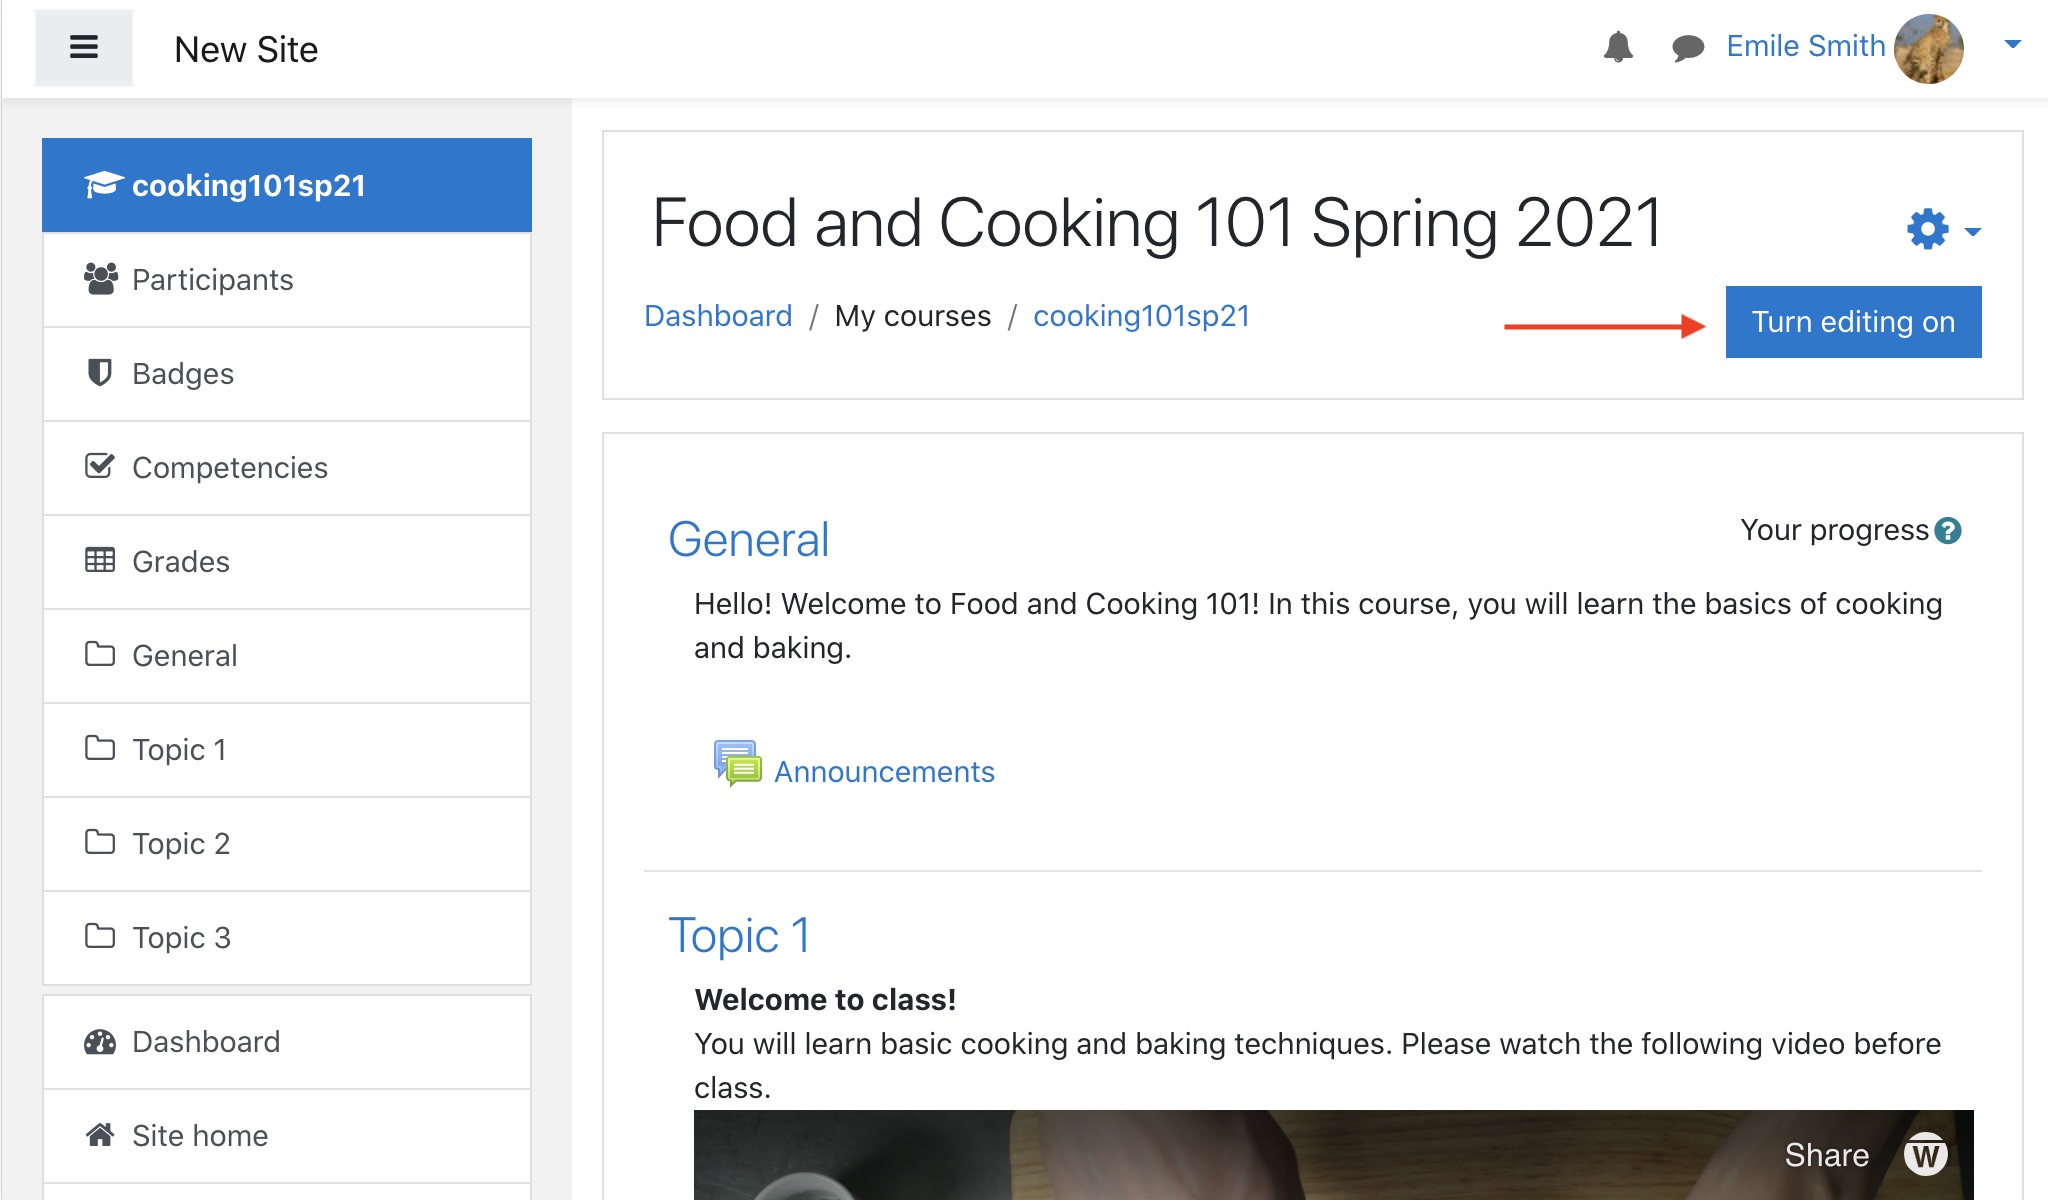
Fig. 1 - Course page within Moodle platform
Click "+ Add Activity or Resource" in the location where you'd like the Warpwire tool link to appear.

Fig. 2 - Moodle add resource mode
In the activity popup window that appears, click "Warpwire" from the selections.

Fig. 3 - Moodle External Tool pane
You'll now see the 'Adding a new Warpwire' page. Scroll to the bottom, and click "Save and return to course."

Fig. 4 - Moodle external tool name
You should now see the Warpwire button in the area you selected.

Fig. 5 - Moodle course page with Warpwire tool added
You can choose to hide this block from your students or users, so only you have access to the course's Media Library. To do so, simply click the 'Edit' menu next to the Warpwire link. Then, select 'Hide' from the dropdown menu.

Fig. 6 - You can choose to hide the activity block from your students
You should see a "Hidden from students" message appear below the Warpwire link.

Fig. 7 - Activity block hidden from students message.
Now you're able to easily access your course's Media Library. To do so, simply click the new Warpwire link in your activity box.
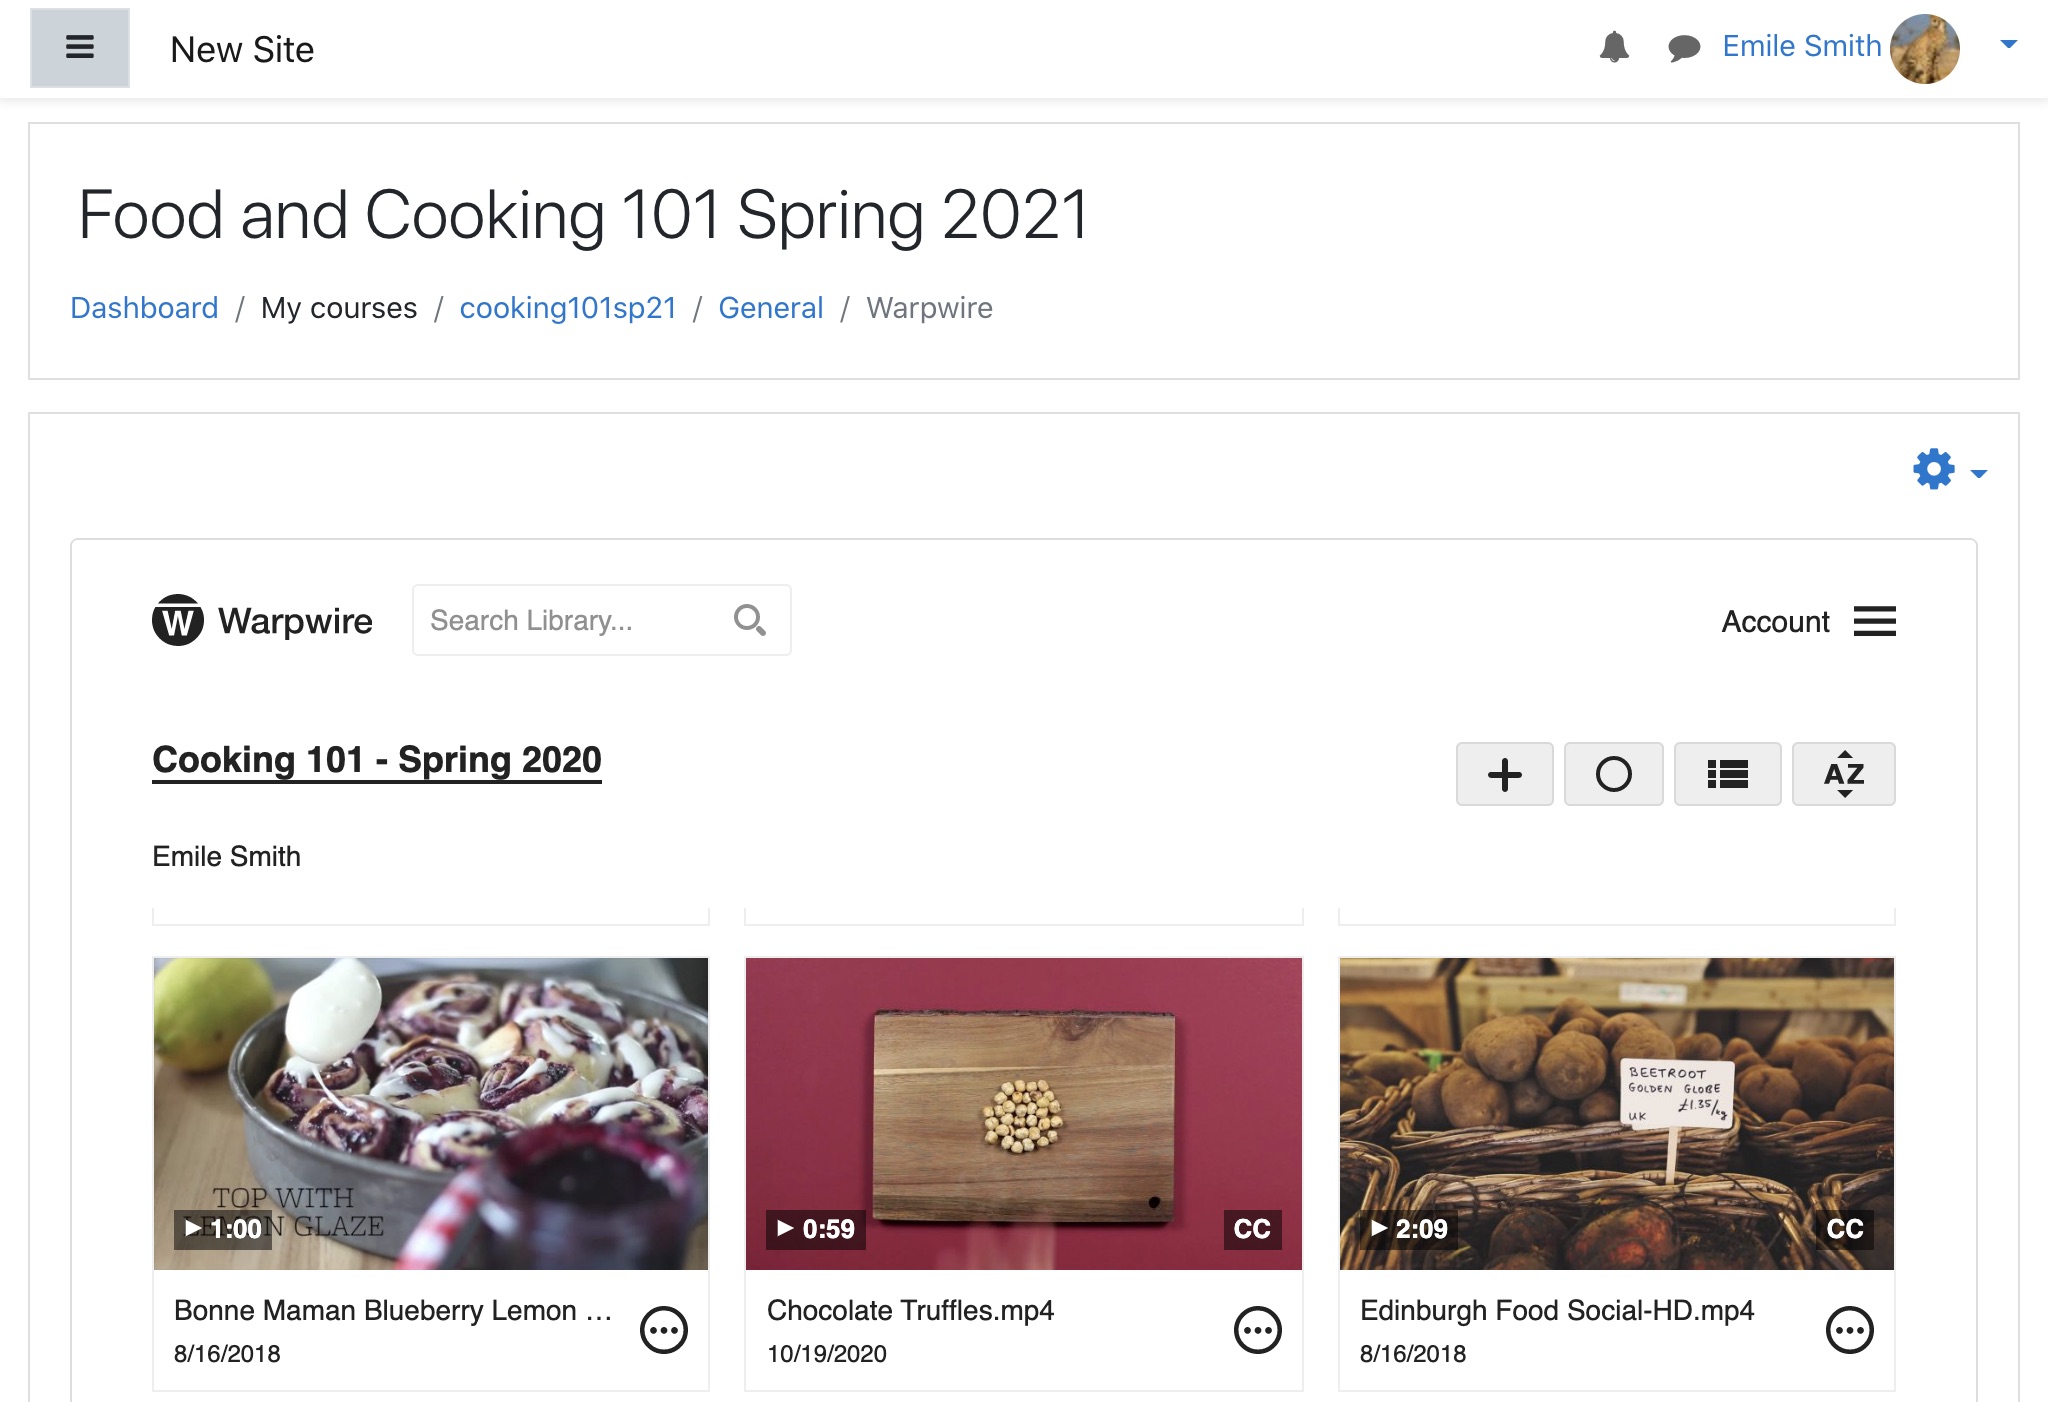
Fig. 8 - View your course media library from within Moodle.
Was this article helpful?
That’s Great!
Thank you for your feedback
Sorry! We couldn't be helpful
Thank you for your feedback
Feedback sent
We appreciate your effort and will try to fix the article