If the library doesn't yet exist, you'll need to create a new Media Library or turn on Warpwire for your course. If you have access to upload, you'll see a plus (+) button at the top of the screen. Click this button and then select "Upload Files" from the menu.
Upload to a Media Library
Navigate to a Media Library in order to upload files either one at a time or in bulk.

This will open a file browser if you're using a personal computer, or your mobile device's file storage.
On a personal computer, you can select a single file, or multiple files (use "command + click" on Mac, "control + click" on Windows to select multiple files).

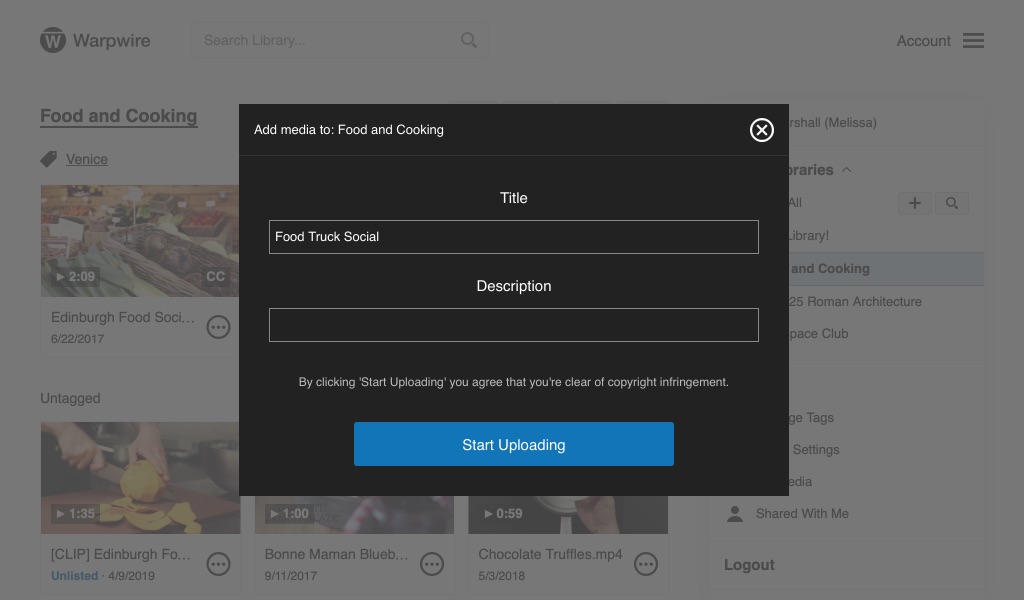
If you're only uploading a single file, you'll have the opportunity to edit the file's Title and Description before clicking the "Start Uploading" button.
As the file(s) upload to your Media Library, you'll see an upload progress bar at the bottom of the screen. The files will begin to appear in the Media Library. When the upload progress bar goes away, all of your files are in the Media Library and your upload is complete. The files will then need to process prior to being viewed.

If you wish to cancel the upload, click the Cancel  button on the right of the progress bar and verify your choice.
See also: Upload from a mobile device.
Last modified May 31, 2024
Was this article helpful?
That’s Great!
Thank you for your feedback
Sorry! We couldn't be helpful
Thank you for your feedback
Feedback sent
We appreciate your effort and will try to fix the article