2. You'll see a Tag window that lists all Tags for your account. Any Tags currently associated with the asset will have a green background. Click on a grey tag to add them, and click on a green tag to remove them (that is, Tags can be toggled on and off).
1. To view and manage Tags for a single asset, click the Media options icon Three dots icon for that asset. Then, click "Settings." Now, from the Media Settings window, click the Tags "Add" button to manage Tags for that asset.

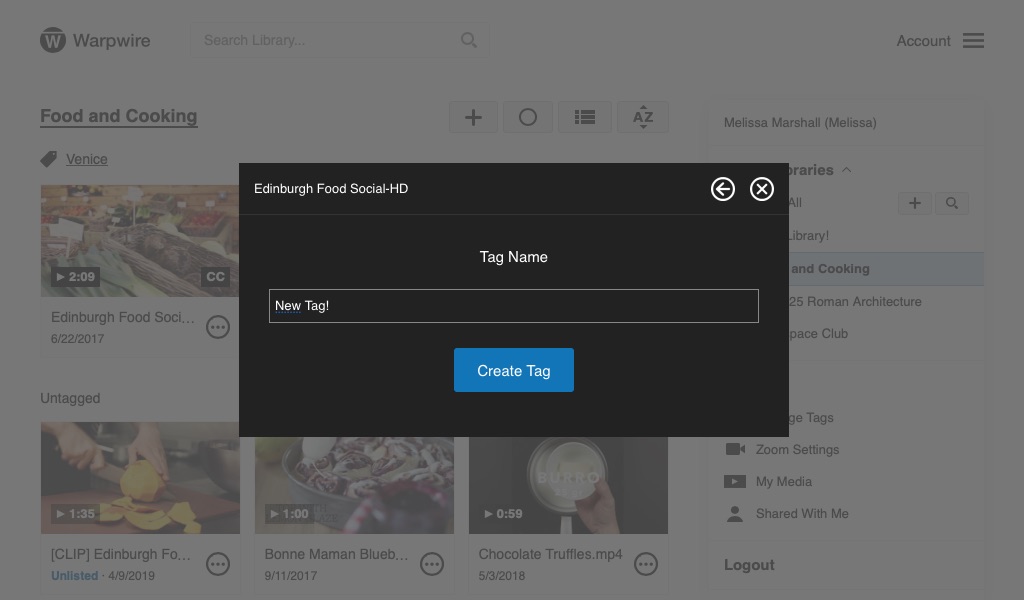
3. To create a new Tag, click the "Create Tag" button at the top of the Tags window. Type in the name of the new Tag, then click the "Create Tag" button at the bottom.

4. Once created, your new Tag will appear in the Tags list, and will be green, indicating that the current asset is tagged with the newly created Tag.

5. Back on the Media Settings window, all associated Tags will now be displayed in the Tags section.

6. You can delete Tags associated with an asset from the Media Settings window — just click the small x on the left side of the Tag names. You'll be asked to verify your choice, then the Tag will be removed from that asset.
See also: Create, Edit and Delete Tags for your Account, Share Tagged Media Playlist, and Sort Media Library View by Tag.
Last modified May 31, 2024
Was this article helpful?
That’s Great!
Thank you for your feedback
Sorry! We couldn't be helpful
Thank you for your feedback
Feedback sent
We appreciate your effort and will try to fix the article